Commercial Roof Leak Repair: How to Detect and Fix Leaks Before They Escalate


Introduction to Commercial Roof Leak Repair
Early Warning Signs of Commercial Roof Leaks
Recognizing the early warning signs of commercial roof leaks can be the difference between a quick fix and a costly overhaul. Business owners and facility managers should be proactive in identifying issues before they lead to severe damage. Due to Florida’s intense humidity, storms, and heat, even a small leak can escalate rapidly. Spotting these signs early ensures that commercial roof leak repair remains manageable and affordable. Trusting professional commercial roofing contractors like Advanced Roofing helps detect leaks early and preserve your building’s integrity.
Watch out for these common indicators:
Water Stains or Discoloration : Brown spots on ceilings or walls often indicate hidden moisture.
Mold or Mildew Growth : Persistent dampness leads to mold, posing health risks to occupants.
Dripping or Puddles Indoors : Obvious signs that water is infiltrating your roofing system.
Bubbling or Blistering Paint : Moisture trapped under surfaces causes paint or wallpaper to peel or bubble.
Unexplained Odors : Musty smells could point to hidden water damage within insulation or walls.
Sagging Ceiling Tiles : Weakened tiles or panels indicate accumulated water above.
Increased Energy Bills : Insulation damage from leaks may force HVAC systems to work harder.
Cracked or Missing Roof Flashing : Deteriorated flashing often results in water entry points.

Addressing these signs quickly with expert commercial roof repair helps avoid shutdowns and expensive restorations.
What Causes Roof Leaks in Commercial Buildings?
How to Perform a Basic Commercial Roof Inspection
Professional Leak Detection Tools Used by Commercial Roofing Contractors
When to Call the Experts: Choosing Commercial Roofing Contractors

Step-by-Step Guide to Commercial Roof Leak Repair
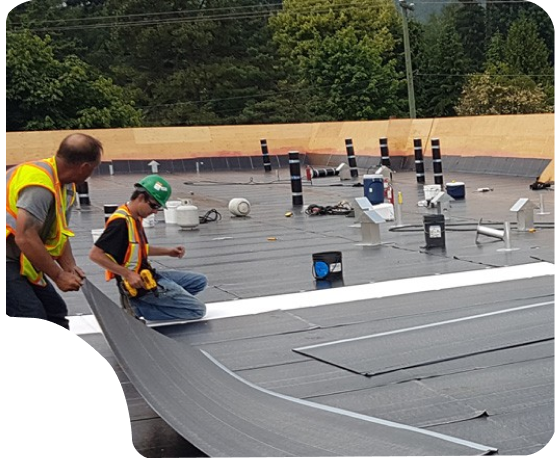
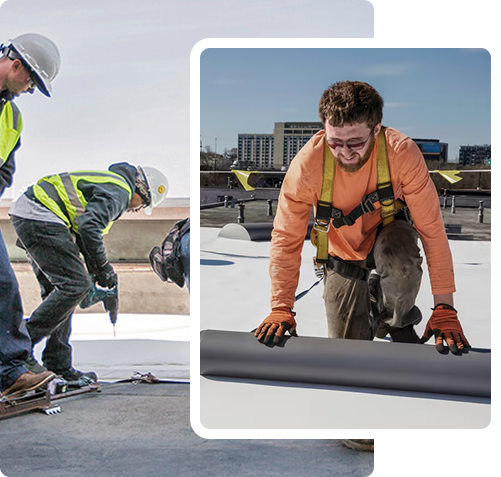
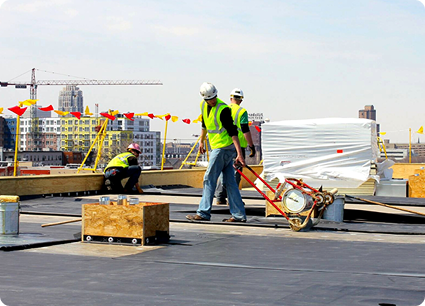
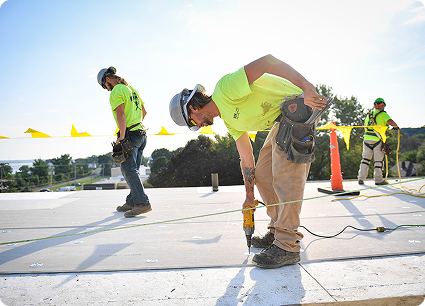
Effective commercial roof leak repair demands a systematic approach to ensure long-term protection and structural integrity. Every roof is different, but the repair process generally follows a proven sequence designed to identify, isolate, and eliminate leaks efficiently. For businesses in Florida, where storms and humidity are routine, it’s crucial to rely on professional commercial roofing contractors who can perform these steps with precision. At Advanced Roofing, we adhere to best practices to deliver reliable commercial roof repair outcomes that last.
Here’s a step-by-step breakdown of how roof leak repairs are professionally handled:
Initial Inspection : A comprehensive roof evaluation identifies visible and hidden sources of leaks using both visual checks and detection technology.
Moisture Mapping : Tools like infrared scanners and moisture meters locate trapped water within roof layers without invasive methods.
Isolate Leak Area : Contractors mark and contain the leak zone to prevent further water intrusion during the repair process.
Remove Damaged Materials : Wet insulation, membrane sections, and debris are carefully removed to access the affected area.
Surface Preparation : The area is cleaned and dried to ensure proper adhesion of new materials.
Repair Application : Sealants, patches, or full membrane replacements are applied based on the severity of the damage.
Reinforce Flashings and Seams : Critical areas like flashing, joints, and seams are reinforced to prevent future breaches.
Post-Repair Testing : Water testing or visual re-inspection ensures the leak has been fully resolved.
Final Cleanup and Documentation : A thorough cleanup is performed, and detailed reports or warranties are provided to the client.
